
How to Act in the Event of an Avalanche
We need to be prepared for the dangers of riding off-piste. There is always a chance of getting caught in an avalanche even when we have done everything to mitigate the risks.
In a real life avalanche situation, panic can take over and rational thinking can go out the window.
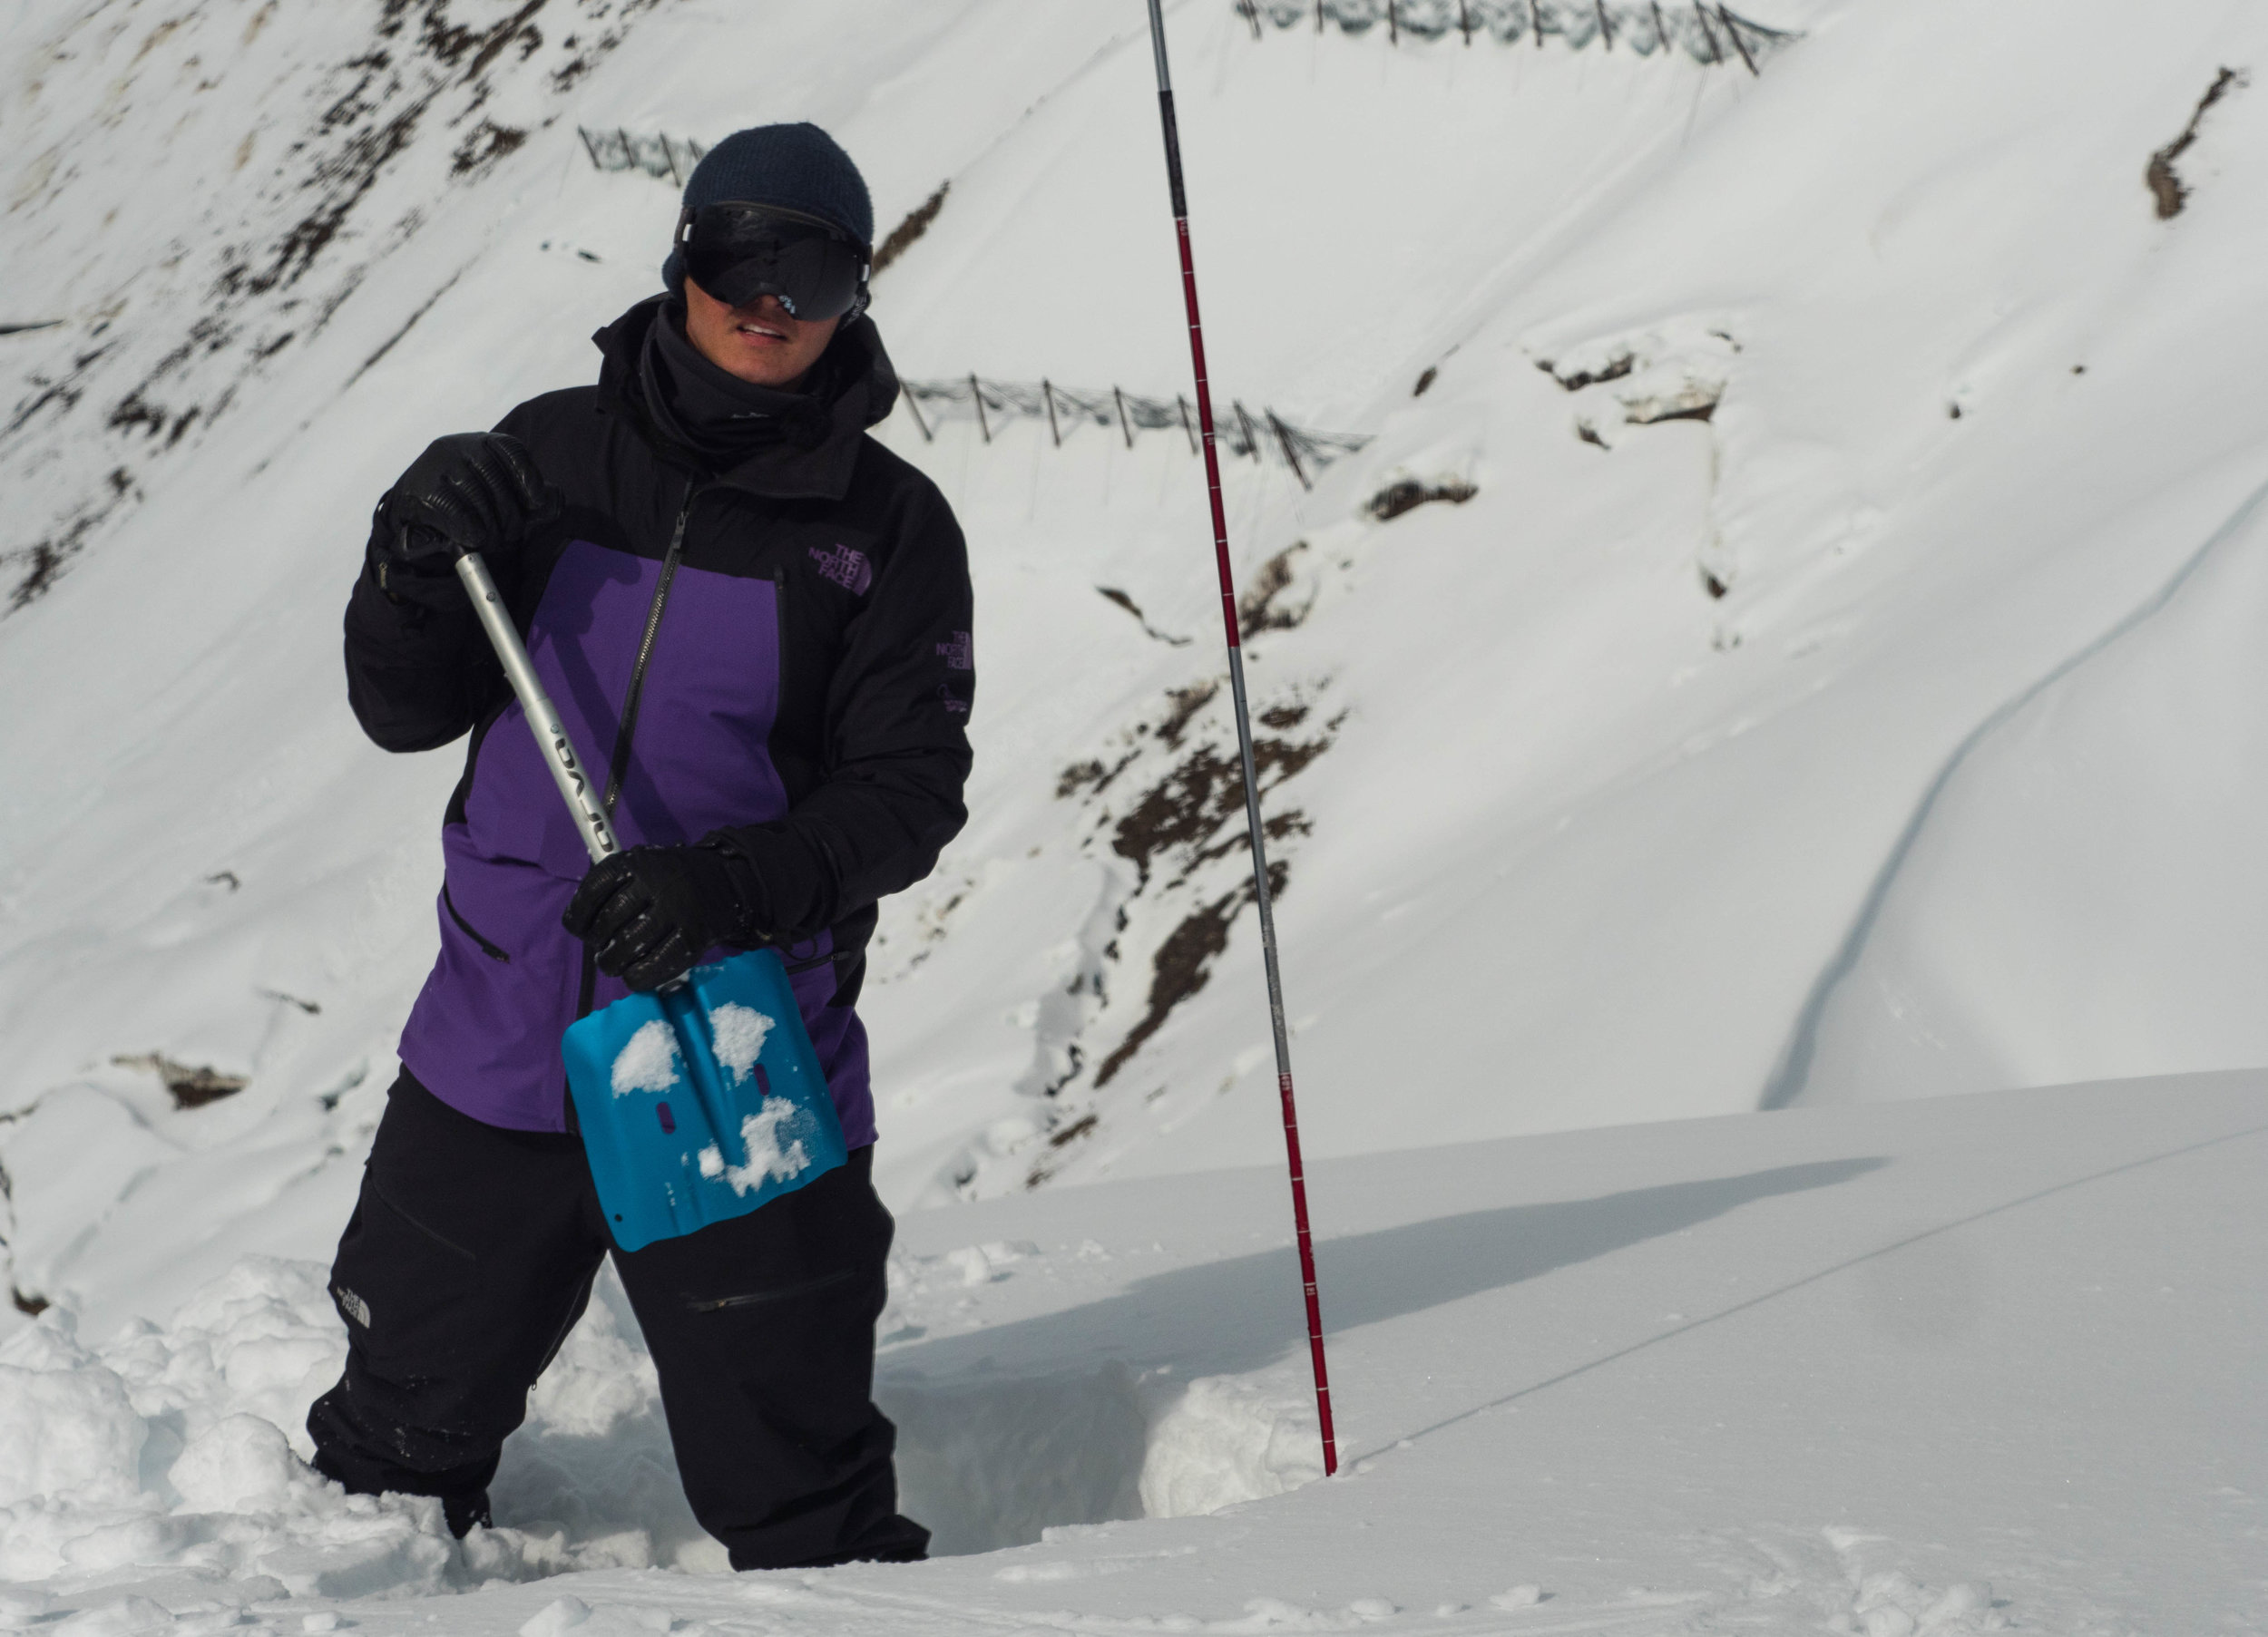
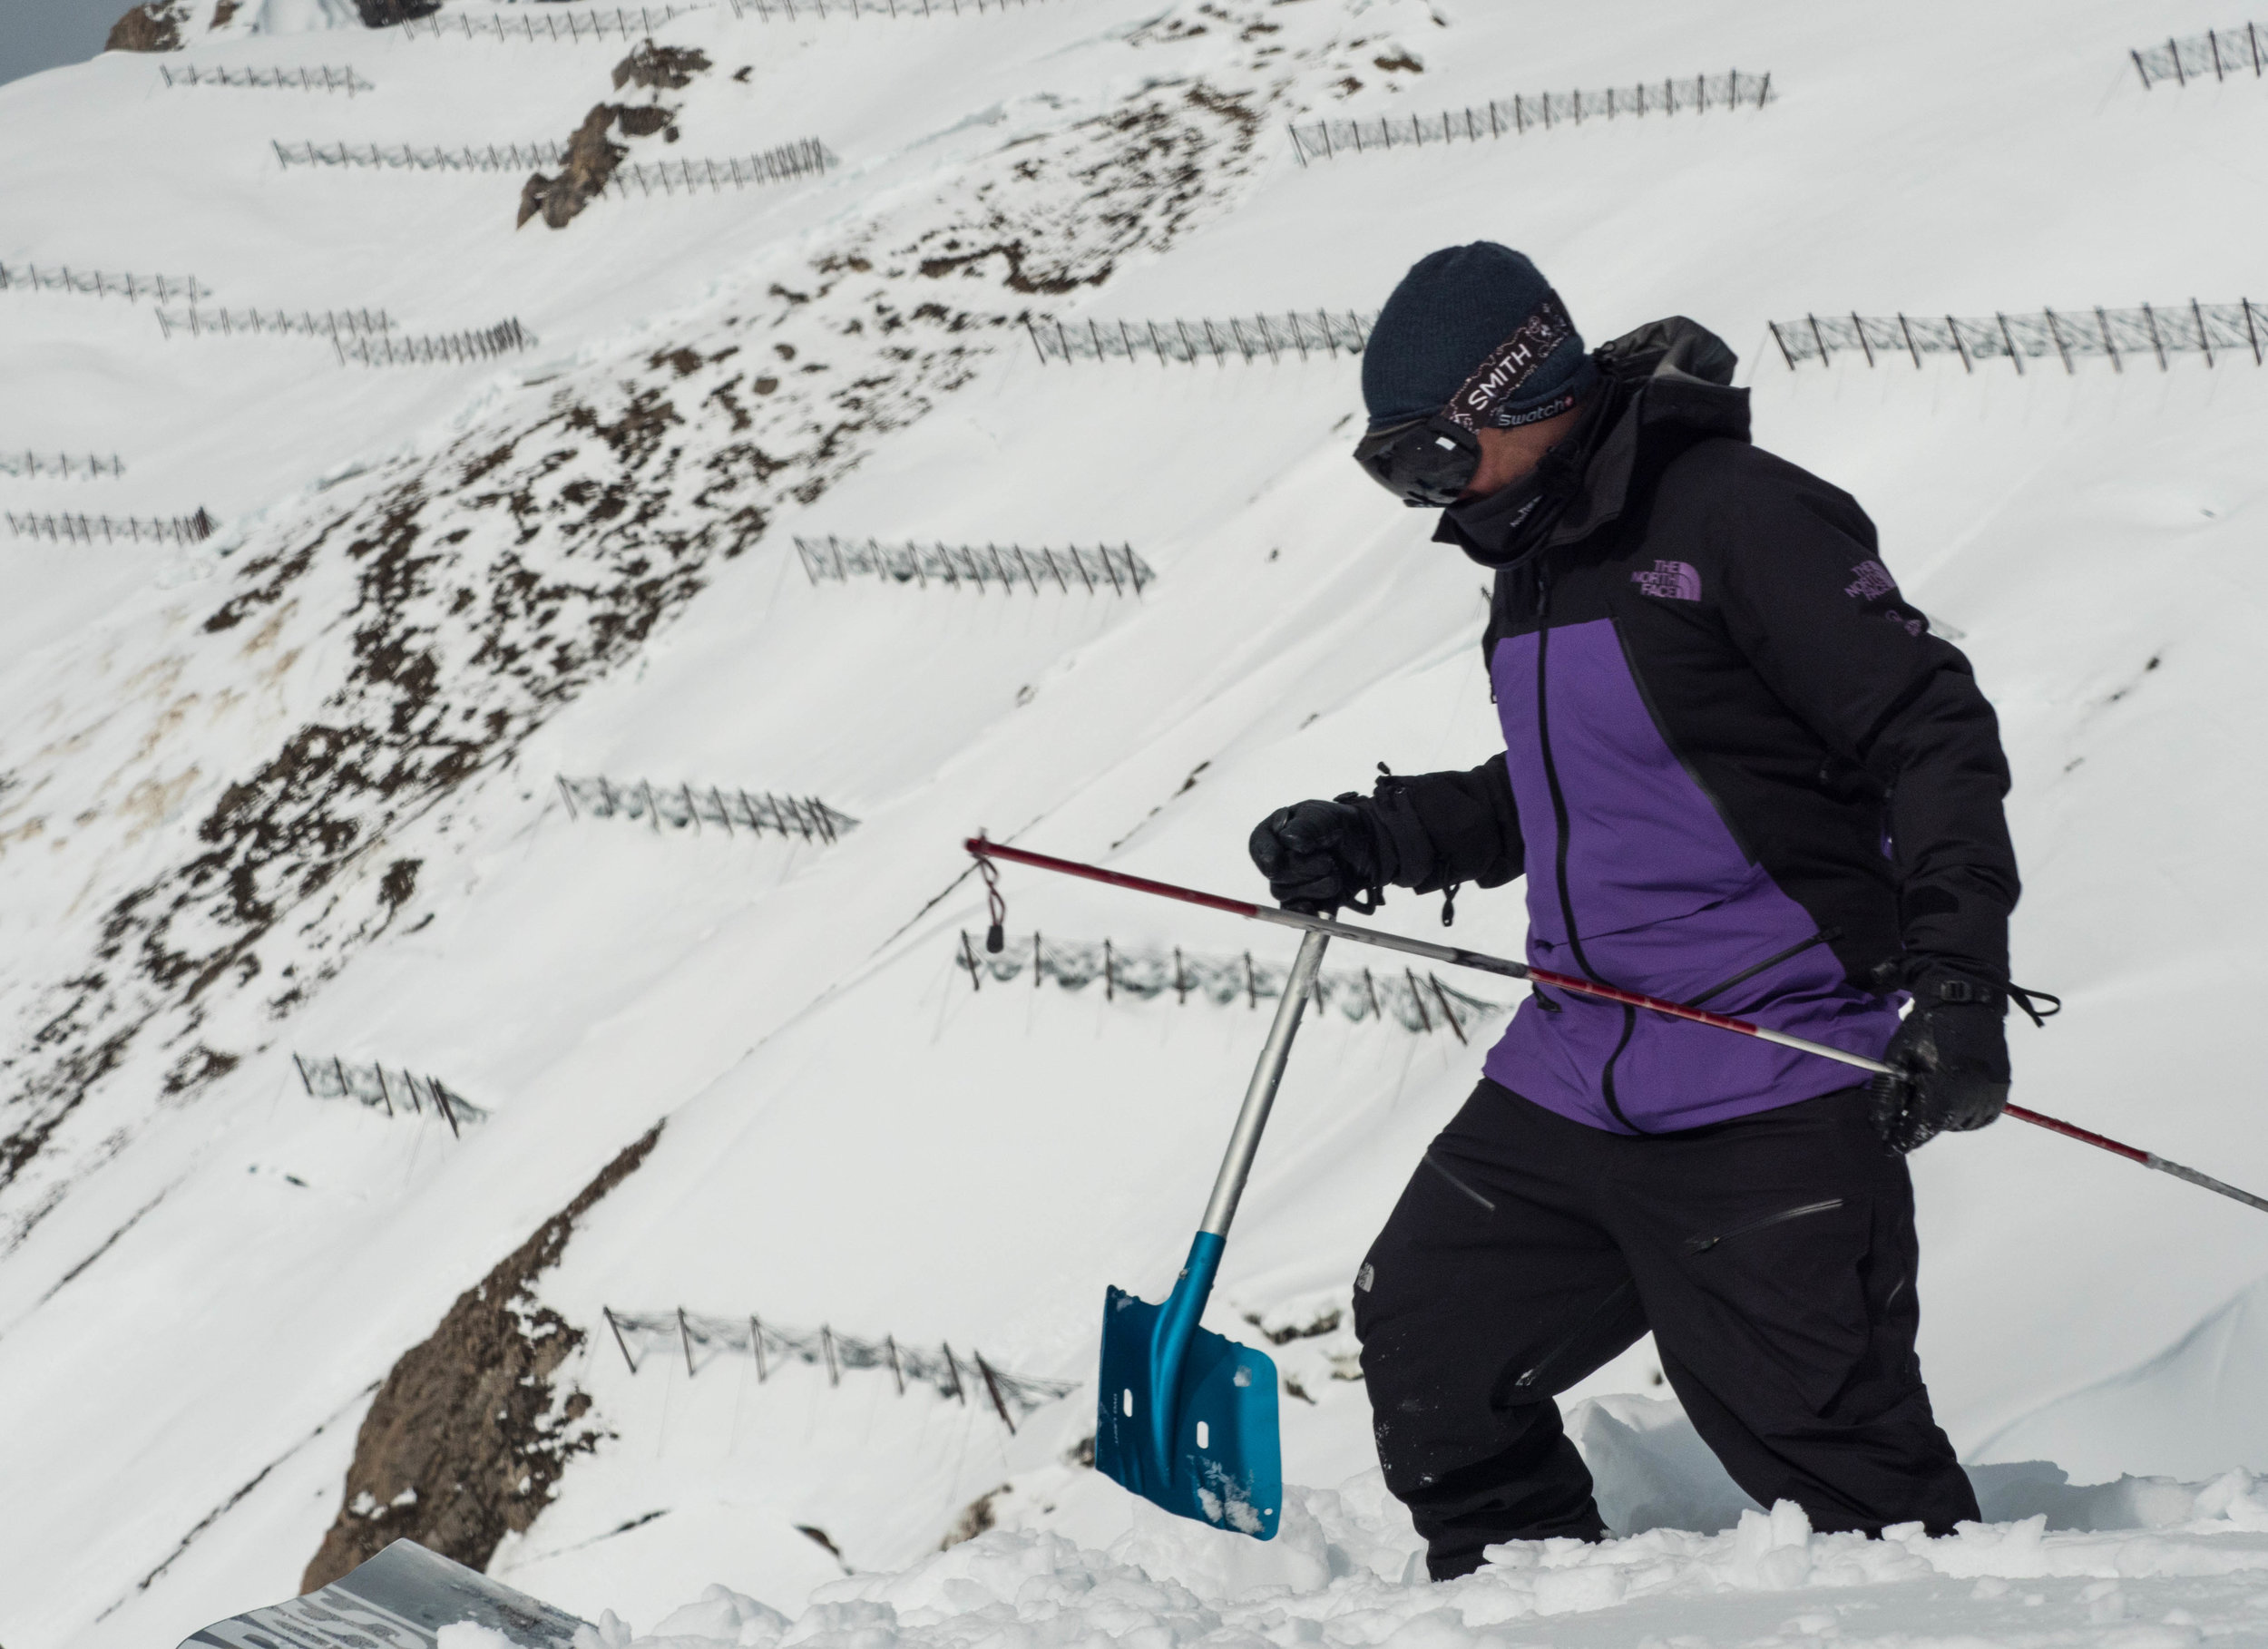
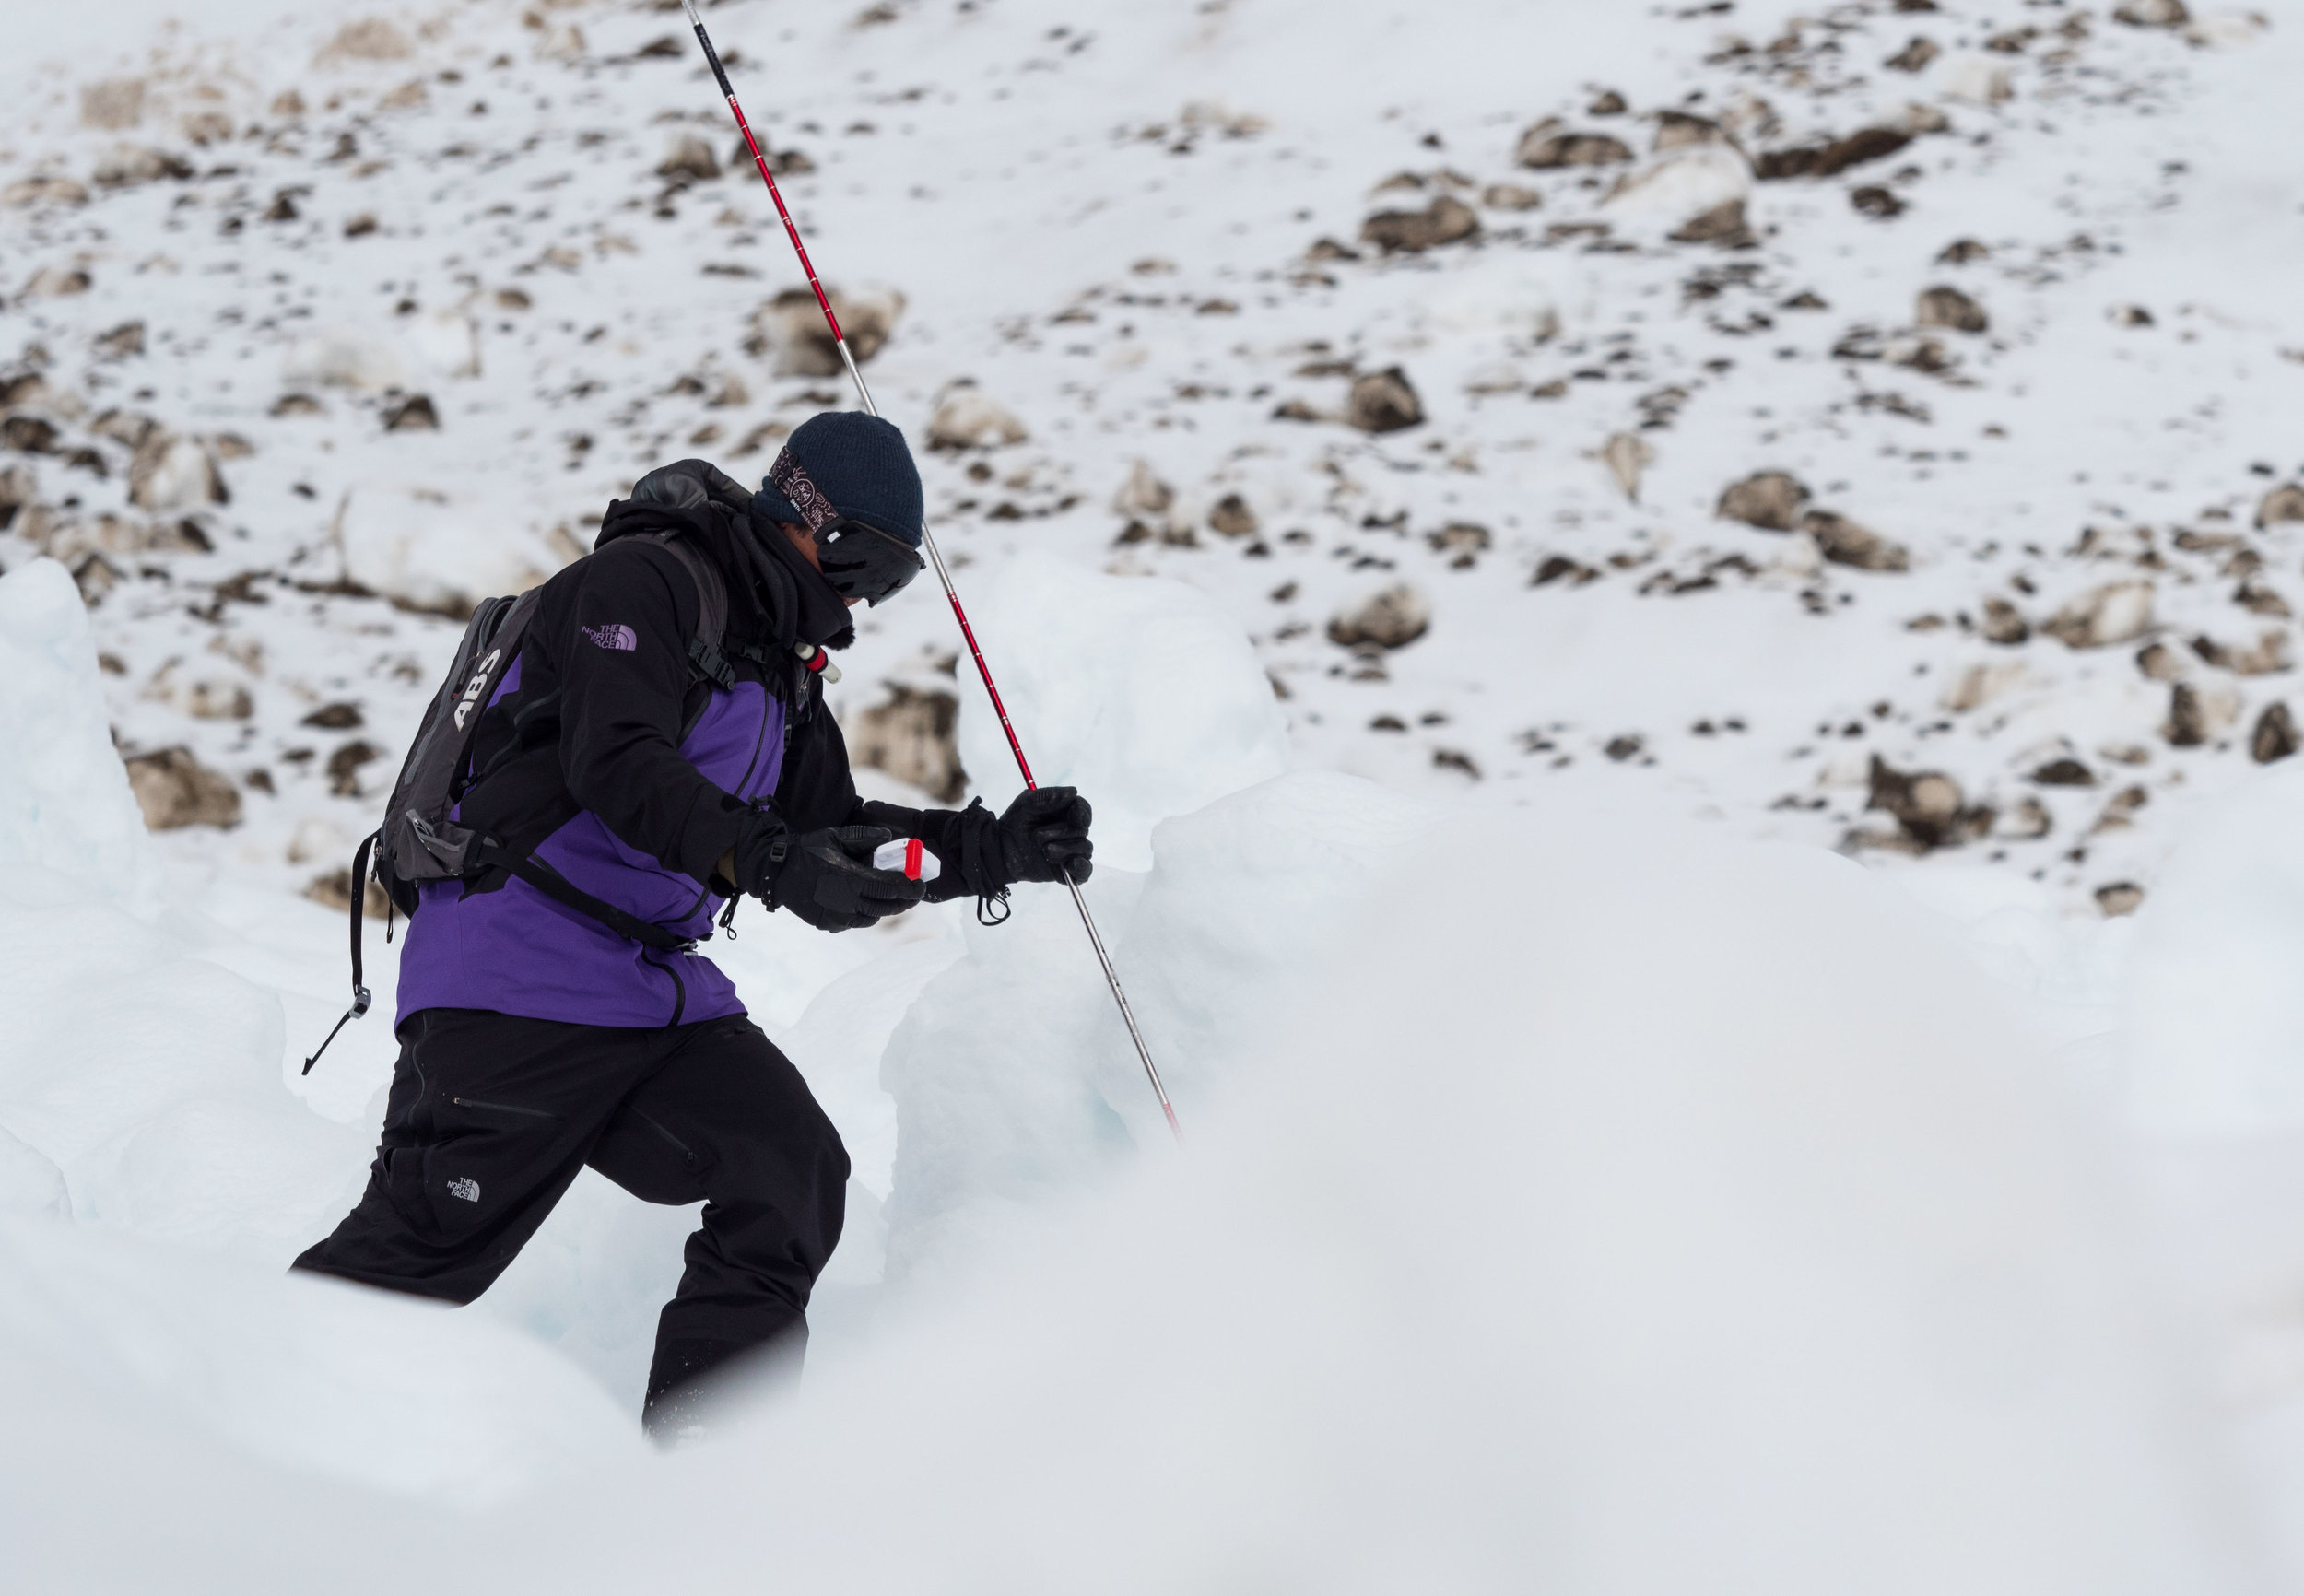
Having the correct safety gear and taking avalanche courses are two great ways to be prepared, but practicing a real life rescue is best the preparation of all.
In this week’s episode of ‘How To: XV’, snowboarder Xavier de le Rue covers this important topic and gives his tips from his years of experience in the mountains.
Watch it and then go and practice, practice, practice!
As mentioned in the video, Xav goes into more detail on how to use your avalanche transceiver, where you can practice and the different search techniques you will need to know.
Check out the video below or discover how FATMAP’s avalanche layer can help you understanding the terrain you’re planning to explore.
“When an avalanche happens you will be dependent on your friends and they on you. So remember, train and have fun!”
Understanding avalanche risk and terrain

Before you dive into using tools like FATMAP, your first step is to start collecting information.
By gathering information about the weather, conditions and avalanche risk (a great collection of links from our friends at Alpine Guides here), you will be able to start evaluating what options you have for the day. More importantly, you will start being able to rule out areas that look like they have too high a risk or unfavourable conditions.
For example, if the avalanche bulletin for the day forecasts the avalanche risk as 3 - considerable - above 2500m on West through to North East facing slopes - and also mentions good cold powder snow down to 1500m on Northerly aspects. You already have some key pieces of information to start helping you evaluate where the risk will be elevated and where good conditions might be found.
Until now, we have had to use traditional topographic maps to plan and check the terrain which requires a lot of skill and can often be prone to error. With FATMAP, it's possible to use our terrain tools to quickly and easily highlight areas on the map so we can see at a glance places that match the ideal terrain we identified.
By switching on the terrain tools we can now easily identify the northerly slopes with the aspect tool and also clearly identify the higher risk terrain above 2500m with the altitude tool.
But the most important variable for avalanche risk is the specific angle of a given slope. To help make better decisions we developed a specific tool.
the Avalanche layer
A really useful way of making decisions about where to ski is by understanding slope angle relative to the avalanche risk. There are many different frameworks but generally most agree that avalanche terrain is considered to be slopes above 30 degrees (or over 25 in wet snow conditions).
A popular system used to help back country riders in Europe make decisions is the Reduction Method. Using a statistical analysis of avalanche incidents over many years, Swiss Guide Werner Munter developed a system that simplifies decision making and tries to create clarity on where the risk is high.

We designed our avalanche overlays to match the guidance provided by the Elementary Reduction Method - and other similar frameworks. The method suggests that for a given avalanche risk, you should stay below a certain gradient.
Avalanche danger Slope angle
2 Moderate Stay below 40 degrees
3 Considerable Stay below 35 degrees
4 High Stay below 30 degrees
The highlighted bands of terrain that fall between 25-30°, 30-35°, 35-40° and 45°+ allow you to quickly apply the Munter reduction method easily.
For example, if the risk is 3, we can quickly identify areas that are above 35° and make sure we avoid them.
One of the biggest criticisms of the Reduction Method is that it was developed from European data and somewhat over simplifies things. It also doesn't help for situations of fresh drifted snow or wet snow avalanches. Fresh wind-drifted snow becomes a problem on runs steeper than 30 degrees—no matter what the avalanche danger level is. For these cases, the avalanche overlay makes all avalanche terrain clearly visible so you don't choose a route or wander in to steeper terrain by mistake.
It's important to point out that these tools and methods are not predictors of avalanches and aren't designed to tell you if something is safe or not. They are rather a simple way to understand relative risk and allow you to make your own decision on whether to go or not.
What is ‘How To: XV’?
Snowboarding icon and FATMAP Ambassador, Xavier De Le Rue, has spent his life in the mountains. Along the way, he’s gained years of unique experience in everything from safety to navigation to fitness. The ‘How To: XV’ series aims to inform and inspire anyone who loves getting outdoors.
Catch up with all the episodes on the How To: XV Youtube channel.

Questions for Xav?
Throughout the series, we’ll be taking your questions on every ‘How To: XV’ episode. Send us your thoughts, comments and questions by leaving a comment below or by emailing us.
We’ll get back to you with answers from the man himself.

See you out there,
Jon and Team FATMAP