
How FATMAP Helped Me Make Flying History
Written by Tim Howell

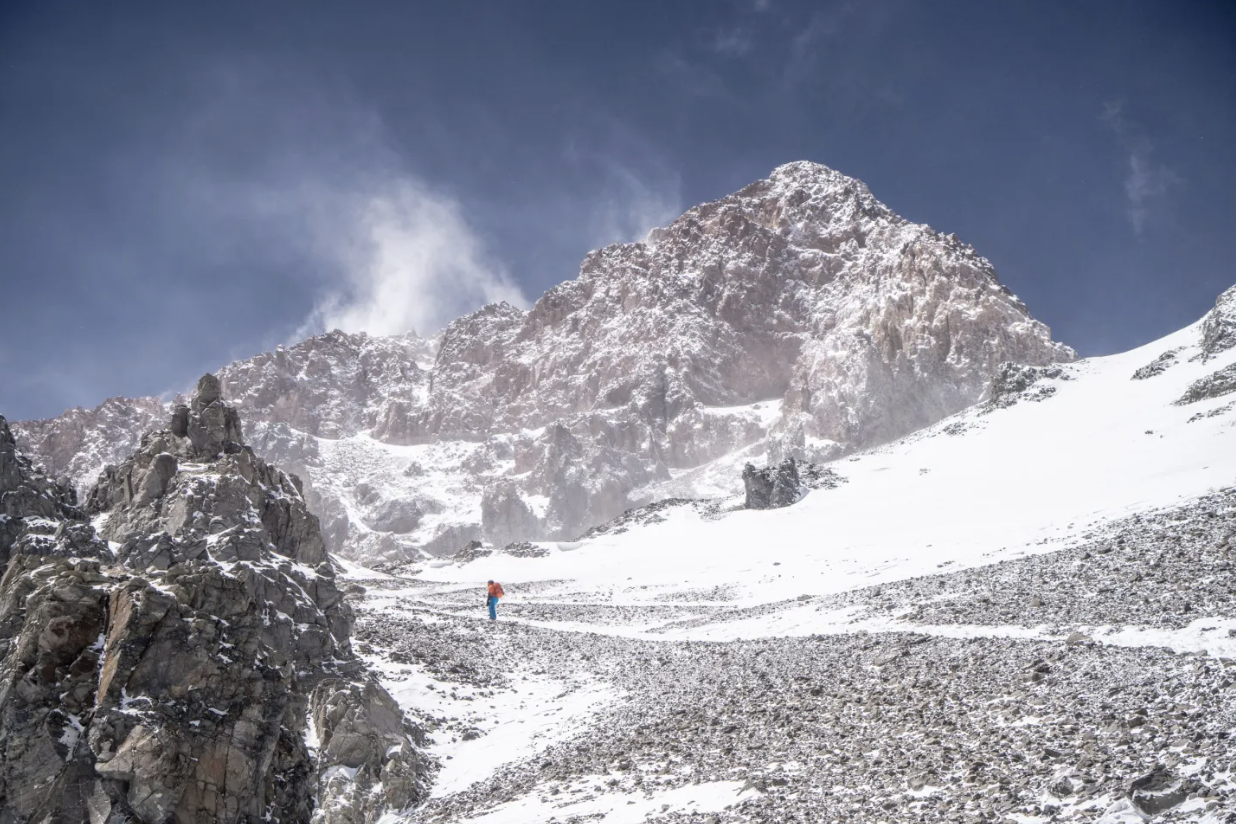
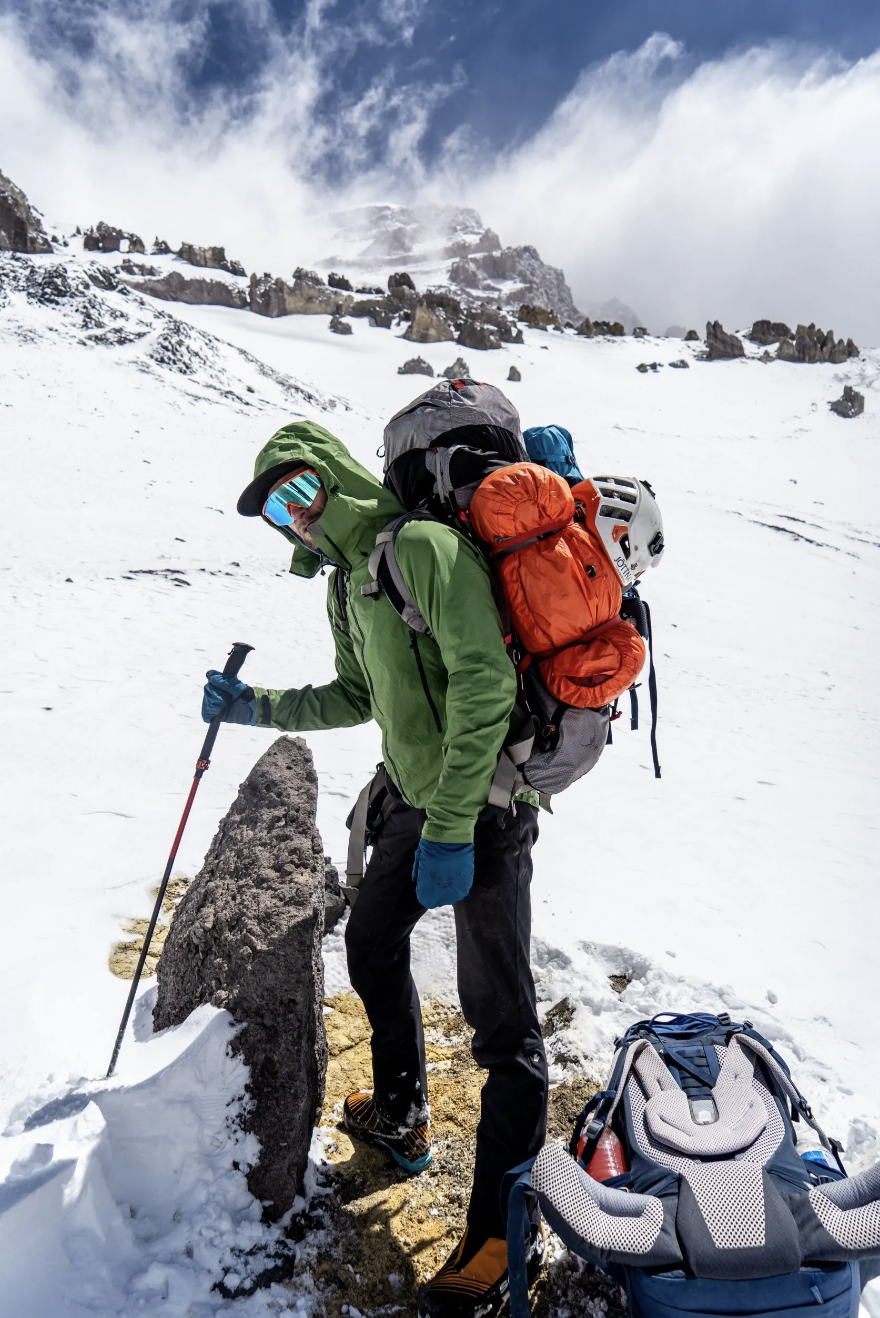
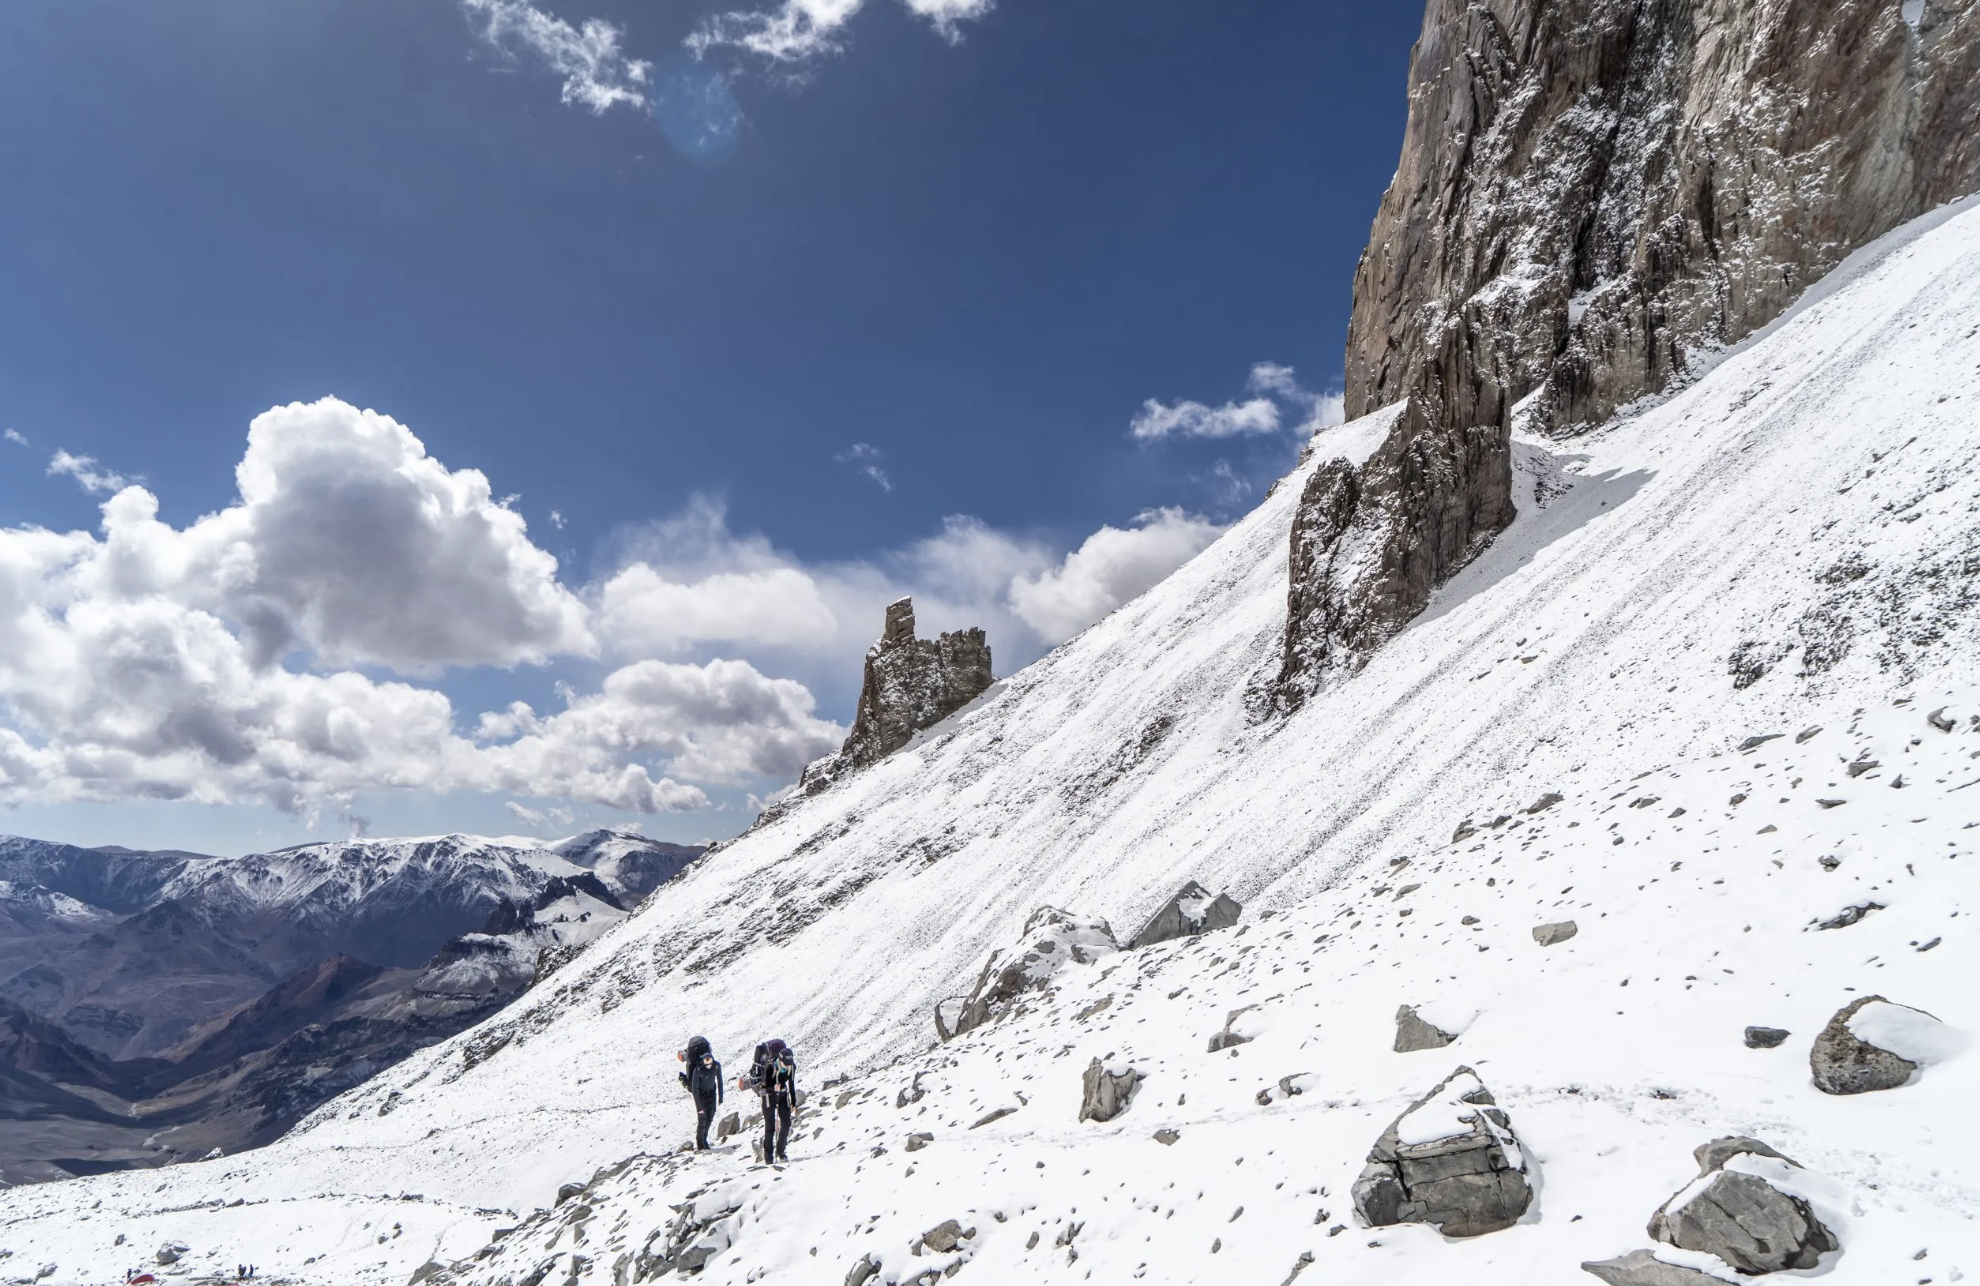
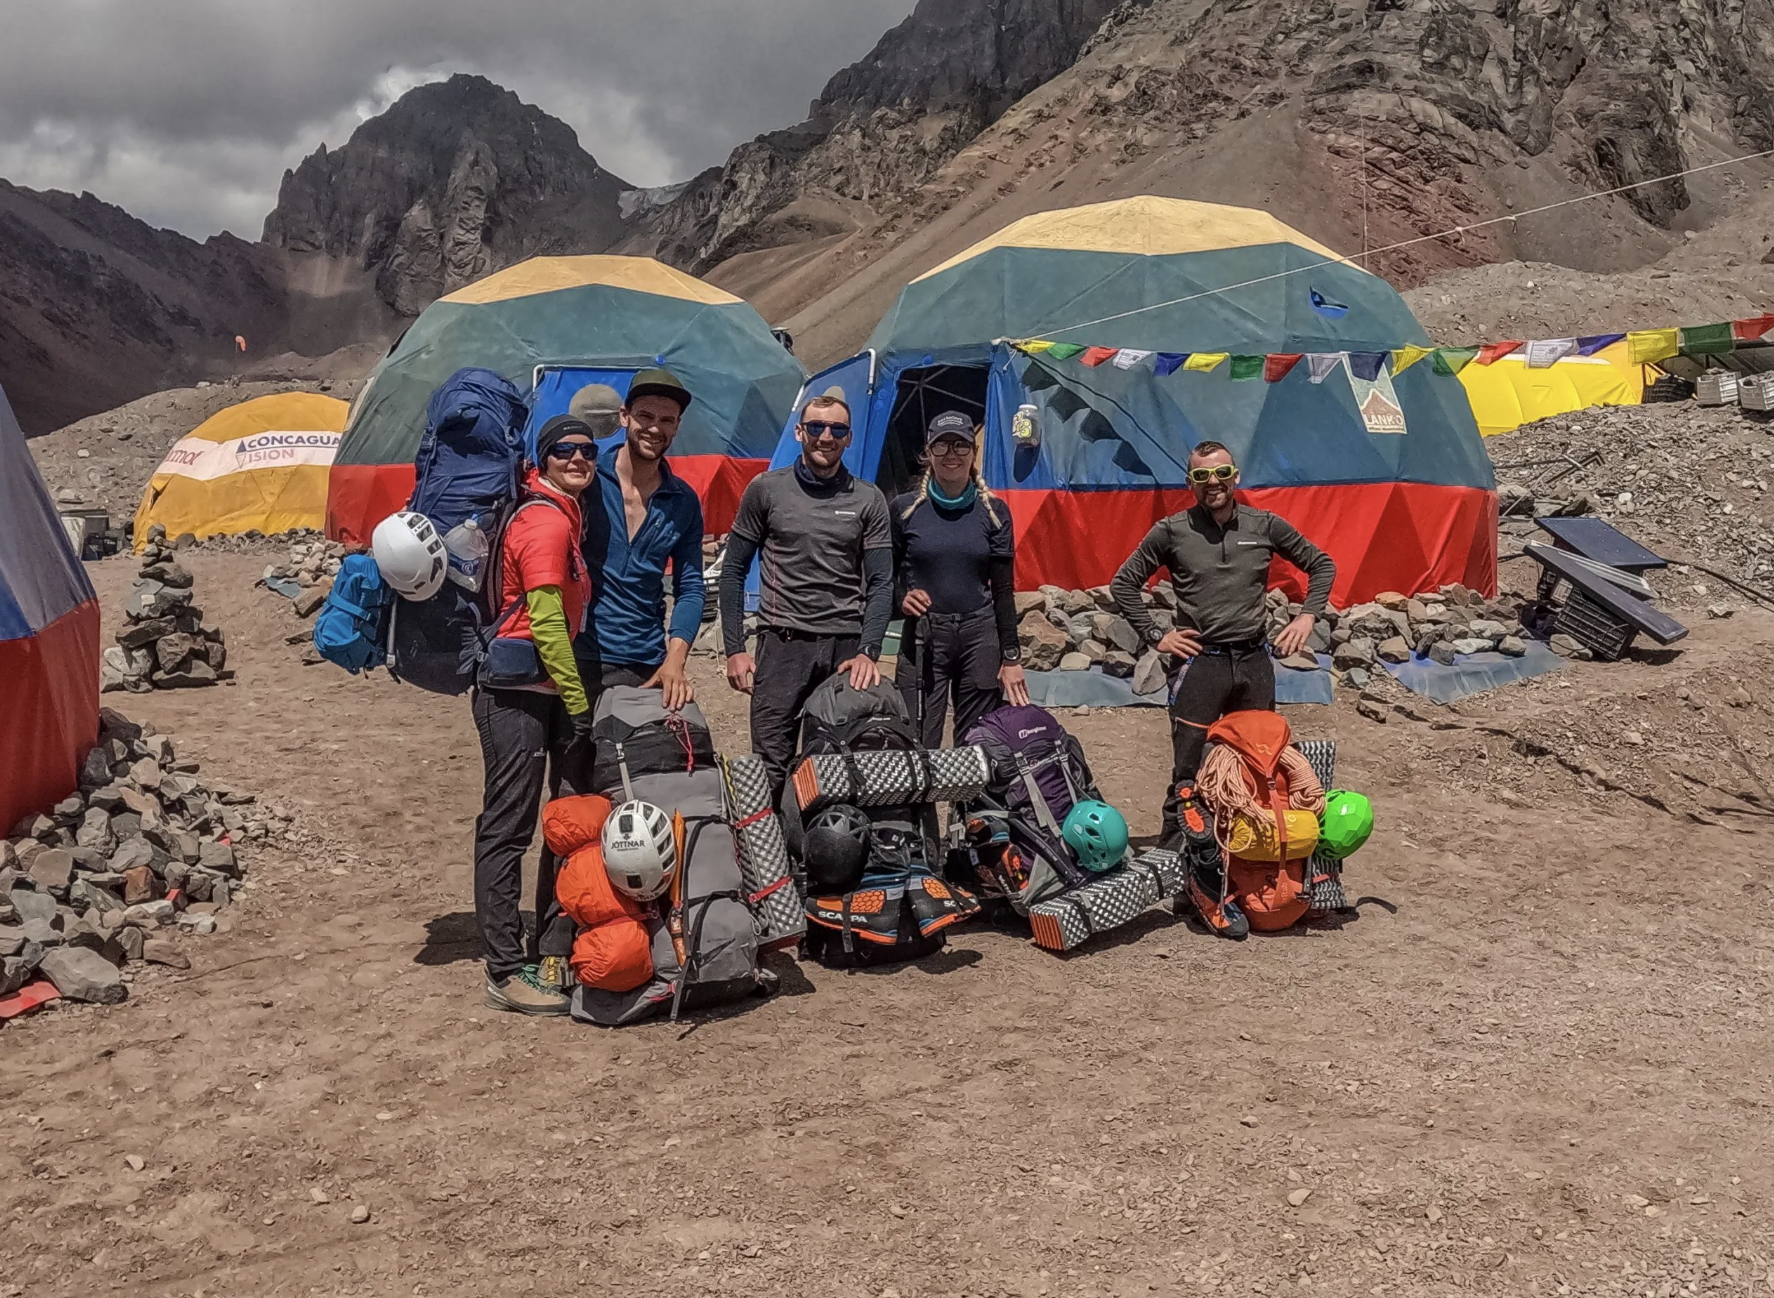
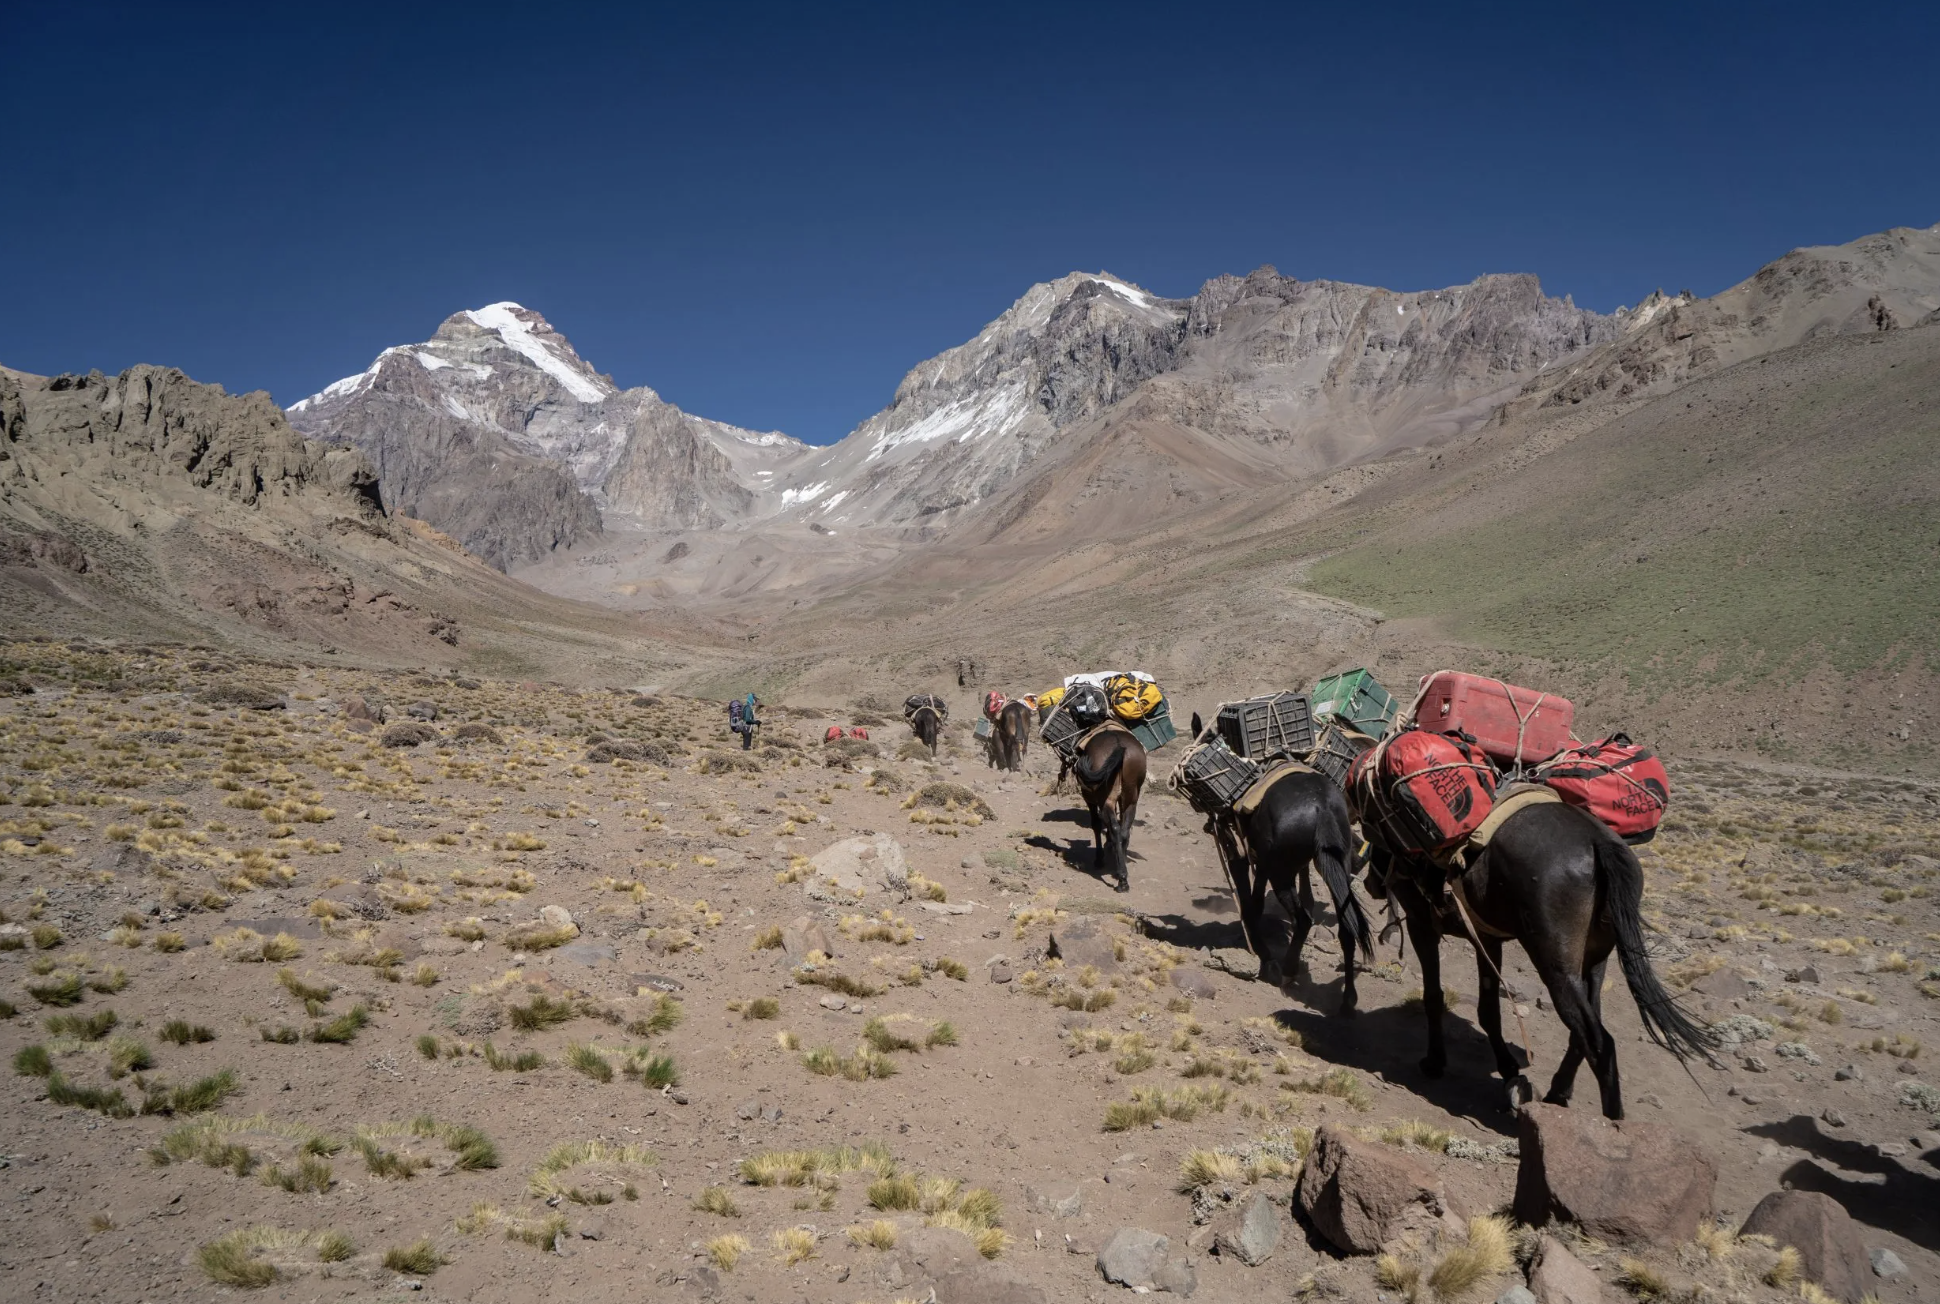
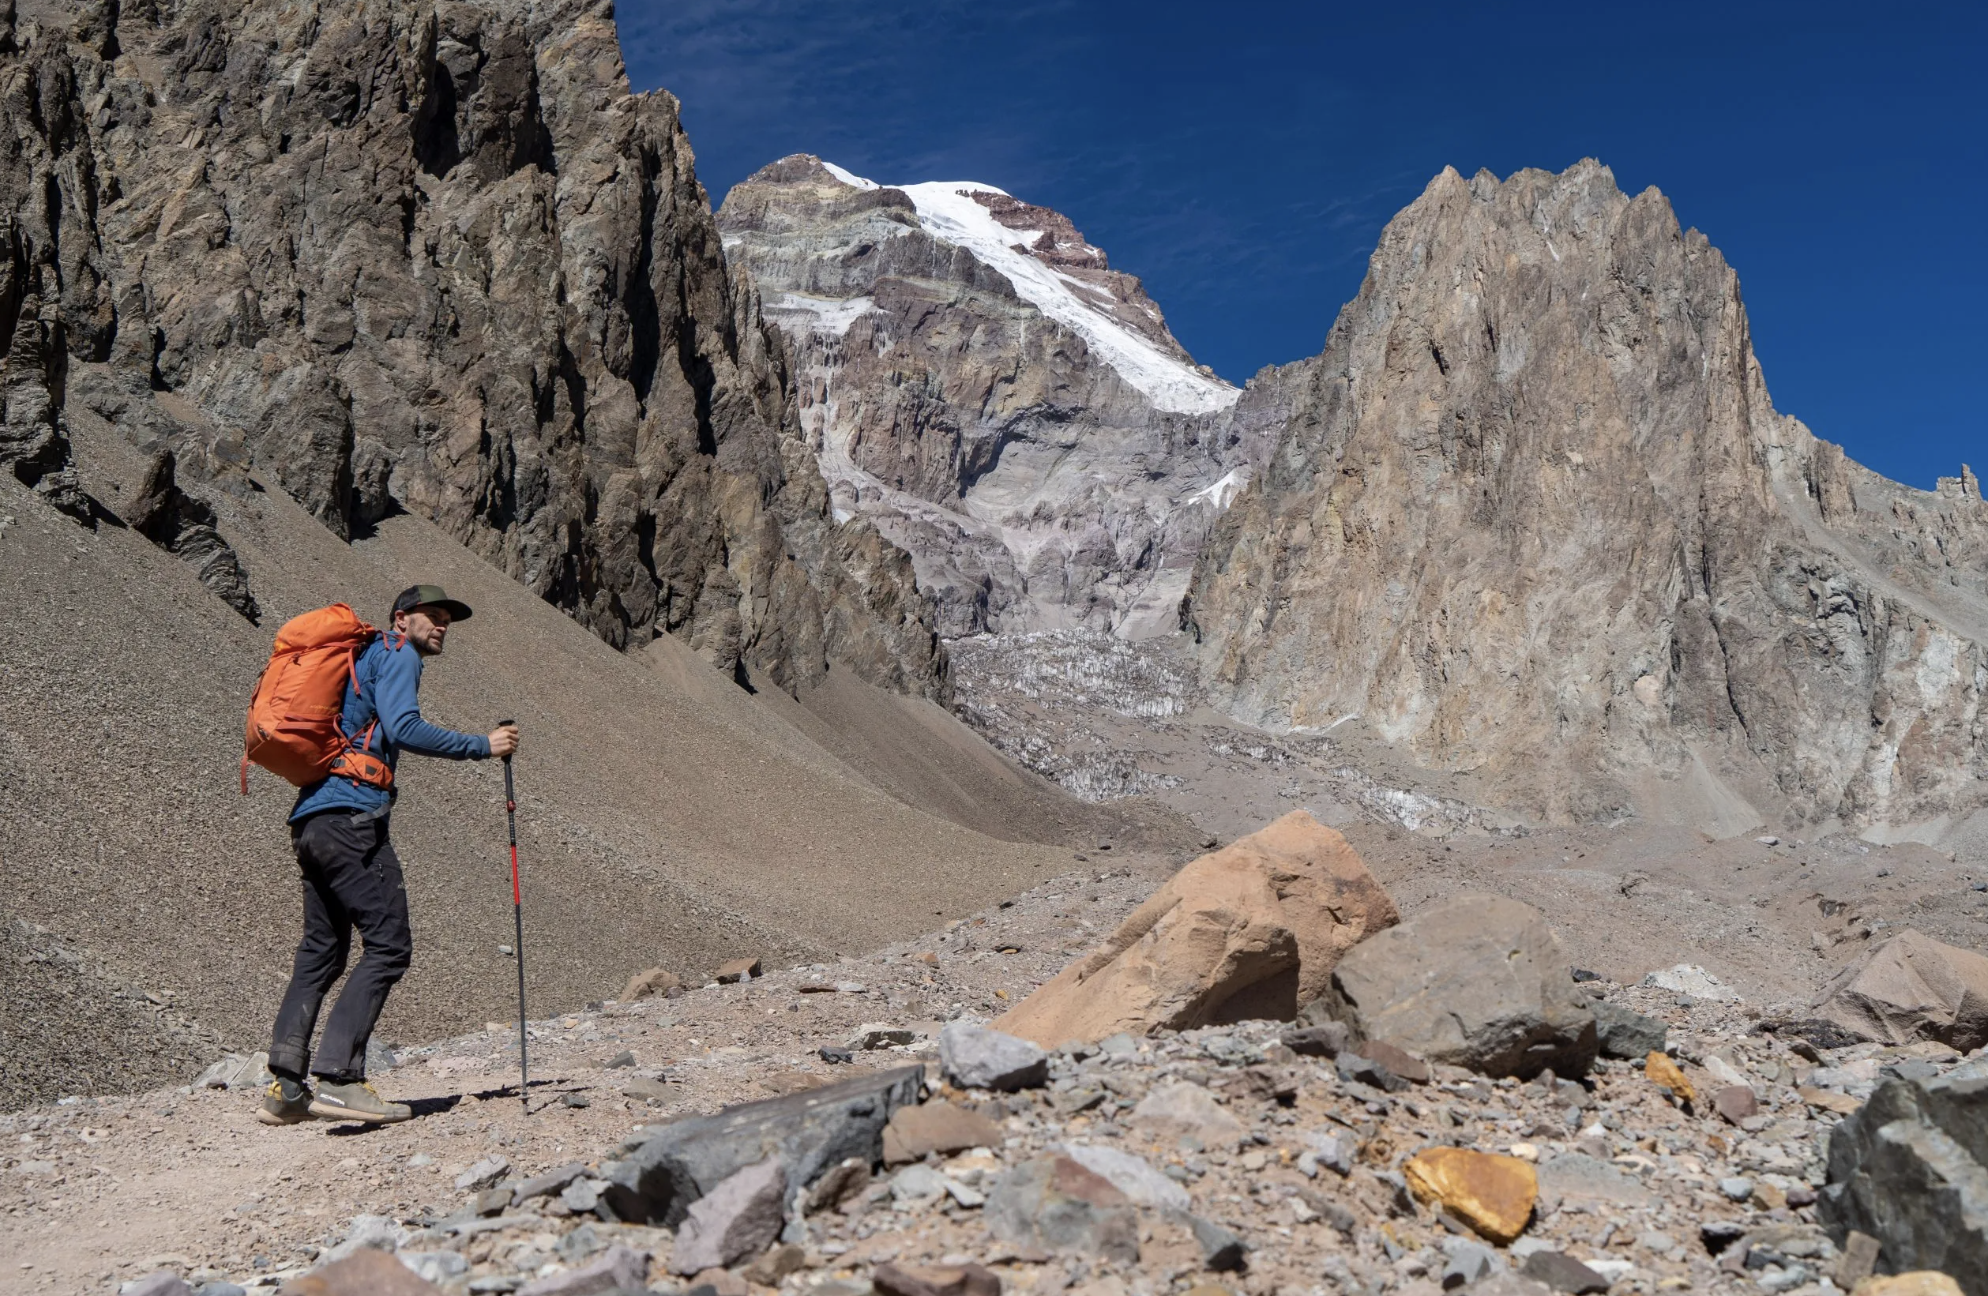
After eight days of hiking and climbing we made it to Camp 2 below the Polish Glacier 6,000m (19,685 ft) above sea level. We had travelled halfway around the world and put in eight days of tiresome effort to get here. All based on the idea that there might be a wingsuit exit, or jump, on this mountain. I was hoping that all the planning and preparation we had done would pay off.
Out of all the uses for FATMAP, mine might be the most niche.
I am a professional wingsuit pilot using my alpine skillset to find remote and high-altitude jumps around the world. Last Christmas, I opened the first-ever wingsuit flight from Aconcagua, the second highest mountain of the Seven Summits, after Everest, and the highest mountain outside of the Himalayas.
Downloading the offline maps option for any expedition is, of course, always very important to me. The base camp Points Of Interests (POIs) and trail heads are an obvious benefit, especially when self-guiding like I do on all my expeditions. The Aspect tool also helps me understand if there might be thermals on the face and at what time, as well as how it might be sheltered from the wind.
This article explains how I use FATMAP to help me find possible jumps around the world. But first, it might be useful to understand what particulars I need to find a viable wingsuit flight.
There are four things you need for a wingsuit exit to be viable:
Initial vertical drop: This is the vertical part of the cliff that you need for the suit to inflate and pressurize in order to gain forward momentum. The shorter the drop, the less time you have to get the suit flying. At 200m (656 feet) lost in altitude we are normally 200m horizontal distance from our exit.
Terrain to fly over: Once the suit is pressurized and you start flying forward you need terrain that is at a lesser gradient to which your wingsuit can fly. The steeper the terrain is, the more separation from it you gain, increasing your margin for error. Our suits can dive at very steep angles or we can fly very flat at a glide ratio of 1:3.
Total altitude from exit to landing: The total height of most jumps in the alps are around 1000m (3,280 feet) and although wingsuit jumps from 300m (984 feet) have been done, it’s hardly a flight.
Landing: Some jumps just aren’t possible because there are no landing options. The more technical the landing, the more time you want under canopy in order to correct any malfunctions and set up your landing. Preferably they will be flat and open terrain with no boulders, trees etc.
When searching for a suitable jump I normally start with pictures of the mountain. Winter pictures are very helpful because I can see if the cliff has ledges, indicated by the snow sticking to the wall. If the wall is vertical, the snow won’t be able to stick.
Different types of rock also indicate whether the wall is vertical or not. Black limestone is often an indicator of water run-off down the face, meaning it isn’t overhung, while white or yellow limestone could mean it is overhung. Granite often forms dome-shaped mountains in certain parts of the world.

FATMAP Gradient Tool
Once I’ve found a possible mountain that looks like it might have an exit, I’ll use the Gradient tool on FATMAP. Using this overlay feature I’ll look for the deep purple hue, meaning the rock is vertical at 90 degrees. I can then put a pin on the top and bottom of this vertical part of the wall. Subtract the altitudes given and get a rough idea of how big the face is.
For this Souther American climb, I calculated there was more than 200m of vertical face with 60% less oxygen than at sea level. I was happy with the size of this cliff, as it gave me plenty of room for error, taking into account my fatigue and the altitude.
Using the Flats tool I can locate certain areas for landing. Here, I found three such areas that were big enough and looked clear from boulders on the satellite imagery. It’s good to have multiple options for landing - A, B, or C - depending on the performance of the flight, I could fly further or less than expected.
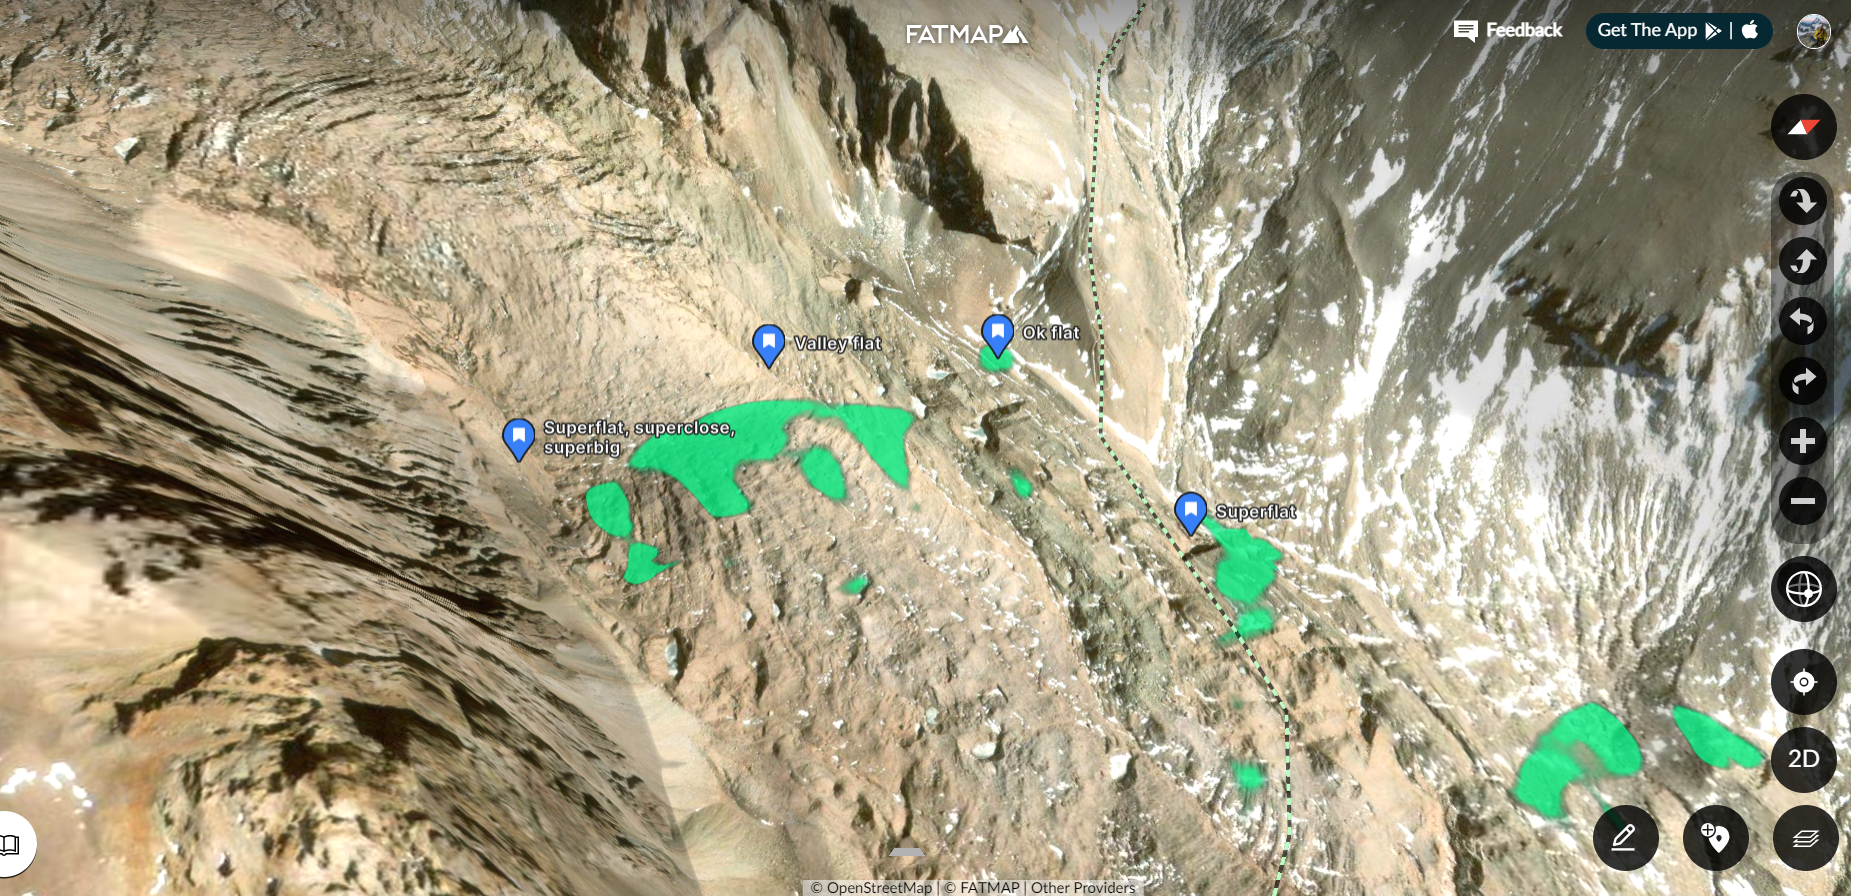
FATMAP Flats Tool
Once I have located these areas I can then use the Route To feature (without the snap option) to draw a line from the exit to the landing. Save it and then view the terrain profile. This will show me how far the distance I need to travel horizontally compared to the distance vertically. I subtract 300m from the vertical (100m to open my parachute, 200m for loss as my wingsuit pressurizes), and then 200m from the horizontal (200m for the pressurization).
Finally, I divide the horizontal by the vertical to give me the glide ratio I need to reach that landing. If that is around 1:2.5 then I’m very confident that I can reach the landing.
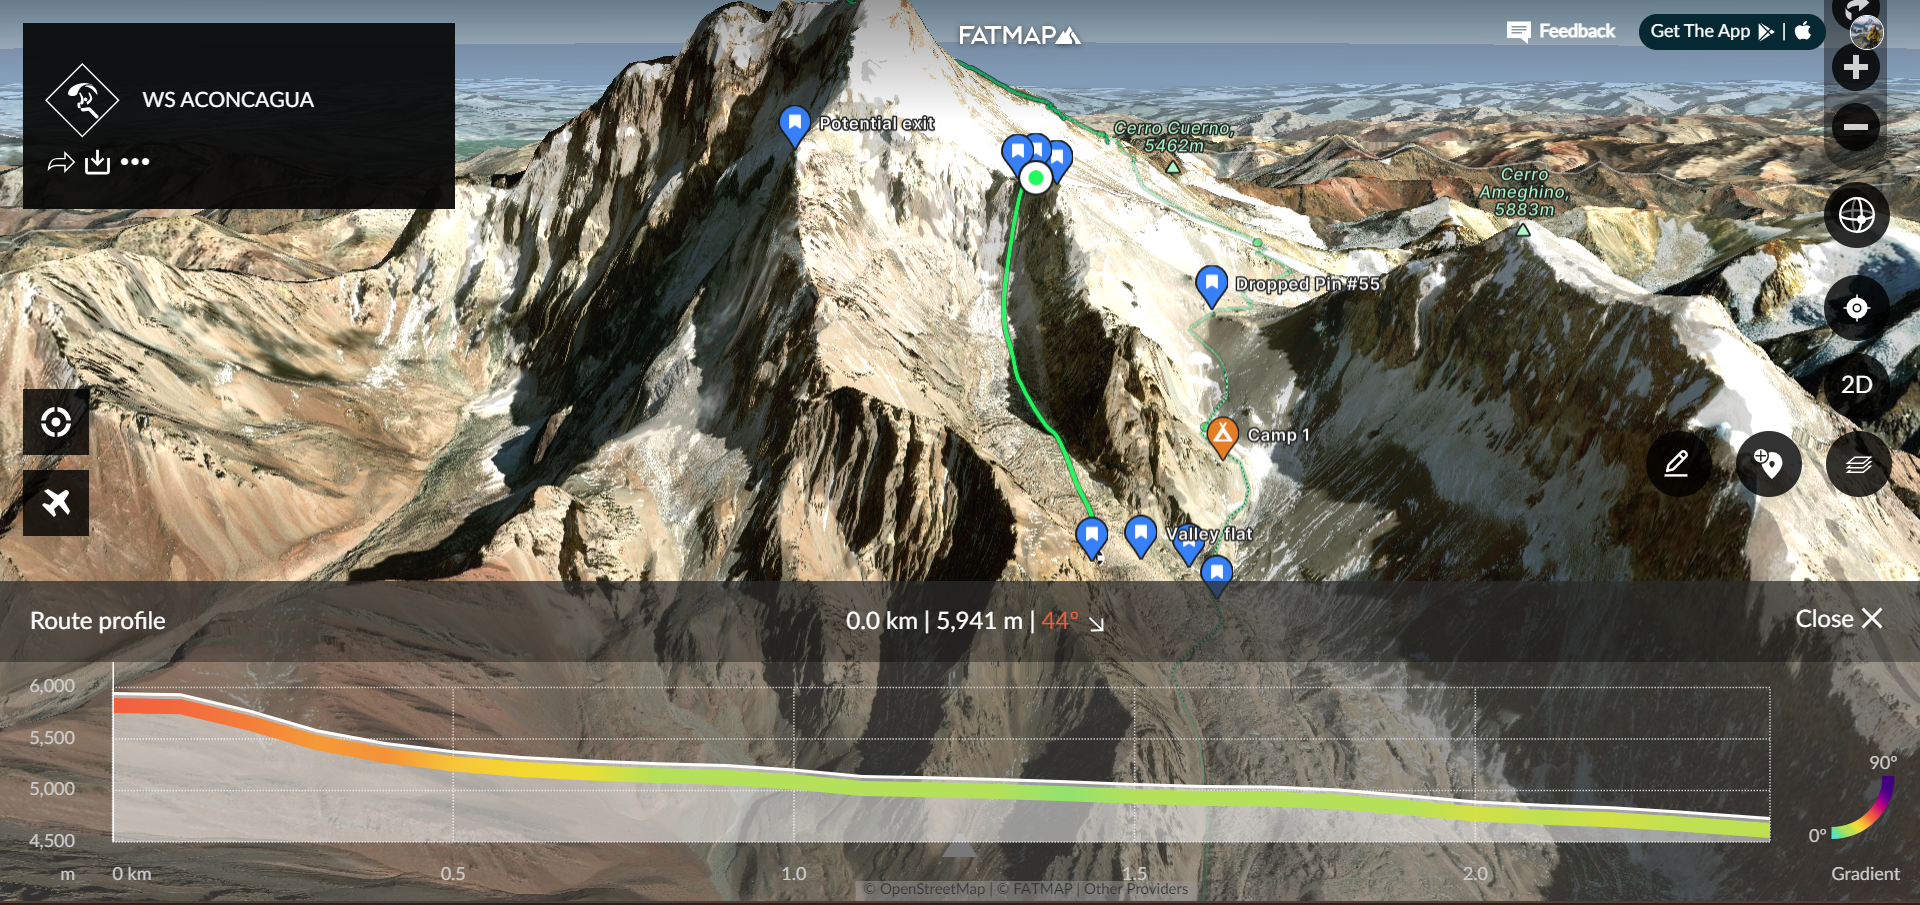
FATMAP Route To feature
These are the calculations I make before I’ve even left home.
When I’m finally at the exit - the flight jump-off point - I use a laser range finder to reconfirm the height of the cliff and I always walk the landings to make sure they are the same as the satellite imagery.
When I’m finally gearing up at the exit point I’m quietly confident in all my calculations and ability, and all there is left to do is zip up my arm and leg wings, make my final checks, count down from three and make that final commitment. The wingsuit pressurizes and I gain forward momentum.
In full focus, I fly down Aconcagua at 220 kmph (136 mph). I can see my landing options just as I had calculated. After a 40-second flight I open my parachute and land on the glacier below.
All the calculations I had made, all the planning and experience gave me enough margin for error to have a safe and comfortable flight. Eight days of hard work for a 40-second flight was worth it in my eyes, to succeed in this challenge as the first-ever wingsuit BASE jump off Aconcagua.

Tim Howell
Tim Howell is a professional climber, mountaineer, and Wingsuit BASE jumper and instructor.